


Clear speech starts with the recording: choose a quiet space, keep the microphone close enough to capture your voice, and listen to a short test before filming the full video. An external microphone can help, but its placement and the room matter as much as buying more equipment.
Start by checking your camera or phone’s built-in microphone. If it picks up too much room noise, compare the connection and pickup pattern of an external microphone. Our guide to podcast microphones under $100 explains some options to investigate.
Table of Contents
A microphone is a worthwhile investment
Choose a microphone that suits how you film. A camera-mounted microphone can keep a compact setup together; a lavalier stays near a moving speaker; a USB microphone may suit a desk recording. Check that the microphone and any adapter work with your camera, phone, or computer before buying.
Check the recording level
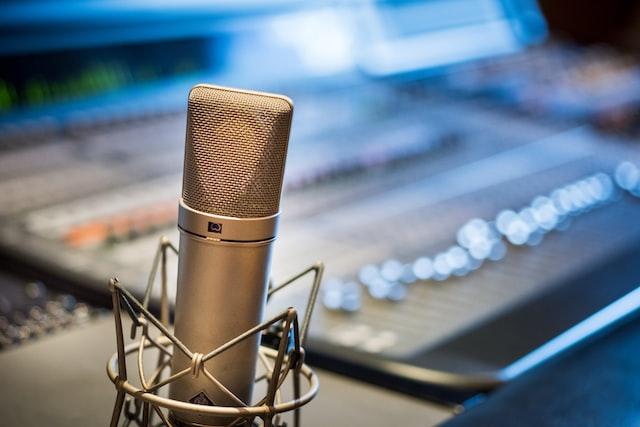
Record a short sample and listen for clipping, room echo, fan noise, and changes in volume as you move. Lower the input gain if loud speech distorts. Editing can adjust levels, but a cleaner original recording gives you more room to work.
Avoid taps and handling noise
Microphones can pick up taps on a desk, cable handling, and movement against clothing. Keep cables secure, avoid touching the microphone while speaking, and use a stand or suitable mount when desk vibrations are audible.
Reduce background noise carefully
Reduce noise at the source first: close a window, move away from a fan, or choose a quieter room. Software can reduce some steady noise, but it cannot reliably remove every sound without affecting speech. The Audacity manual explains noise reduction’s limits, including distortion when background noise is loud or overlaps the voice.
Build a script
Prepare a short outline so you can finish each thought without searching for the next point. A video-script plan can help organize a longer recording.
Choose a full script or brief prompts to suit the video. Place the notes where you can read them without turning away from the microphone, which can change the recorded level.
Be deliberate and articulate in your speech
Speak at a pace your audience can follow and leave short pauses between sections. Those gaps make it easier to trim mistakes without cutting through a word.
Listen to the test recording rather than assuming that slower speech always sounds better. Keep a natural pace and repeat unclear phrases while the microphone is still in the same position.
Mute alerts and prevent speaker feedback
Mute notification sounds and keep loudspeakers from feeding the recording back into the microphone. Headphones can help when you need to monitor a call or computer audio. Muting the speakers will not silence a cooling fan or remove the room’s echo.
Use headphones while editing
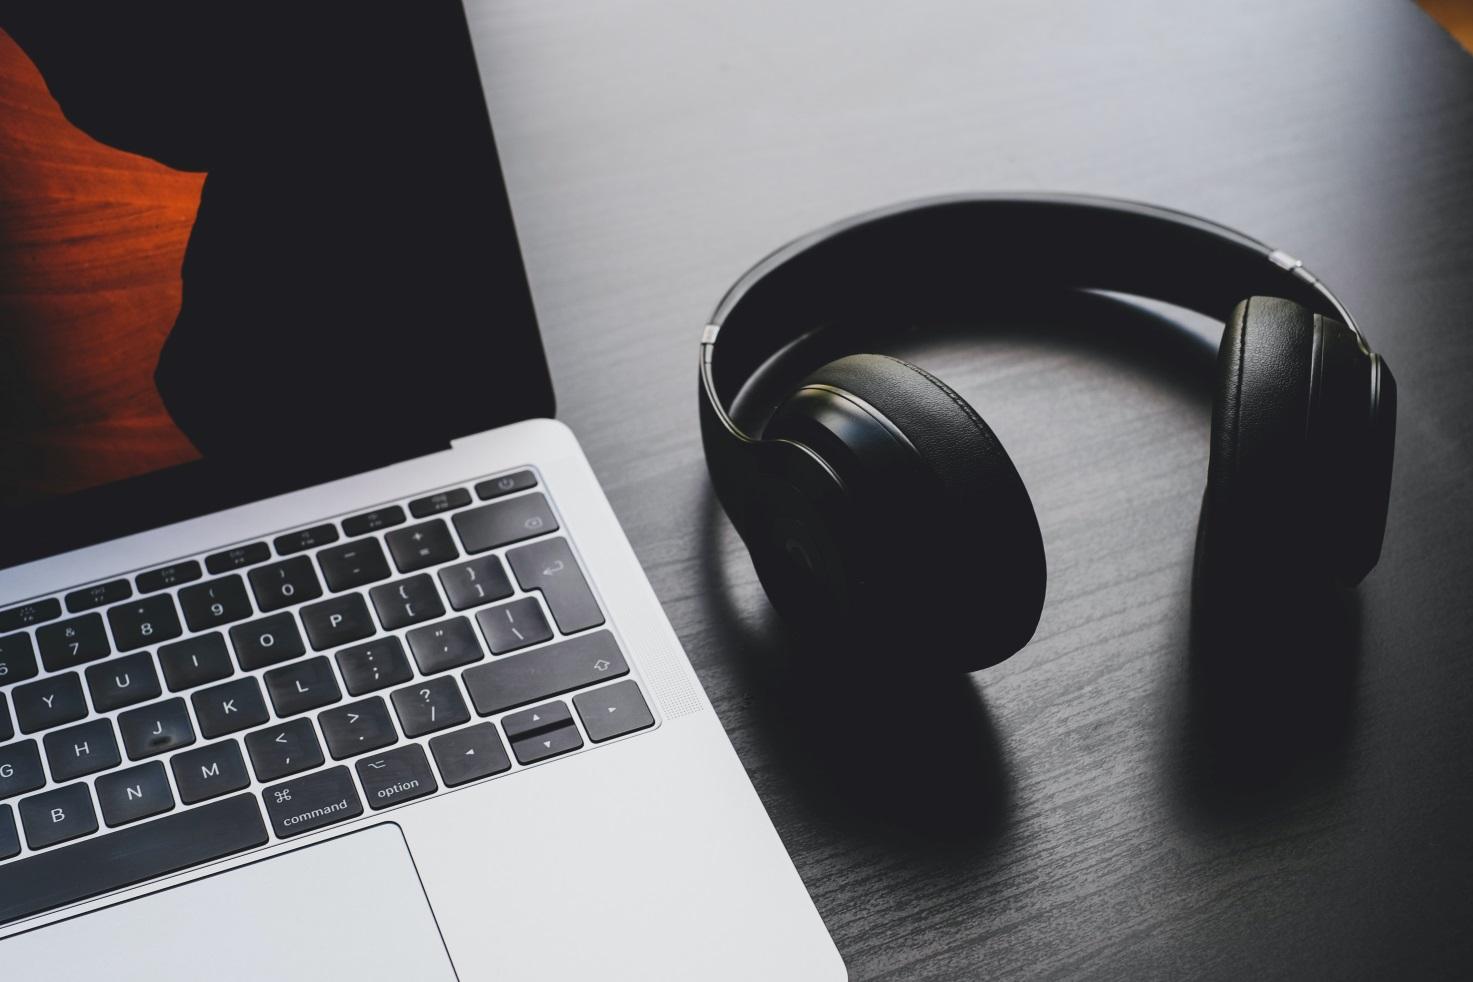
Use headphones to check for hum, clicks, clipping, and uneven volume, then listen through ordinary speakers or a phone as well. Headphones vary in sound and isolation; an expensive pair does not guarantee that you will hear every problem.
Check the finished video
Before publishing, listen to the complete video for intelligible speech, sudden volume changes, distracting noise, and cuts that remove words. Re-record a damaged sentence when that produces a clearer result than heavy processing.
Buy additional equipment when a test recording shows a problem that the equipment can solve. A quieter room, better microphone position, or a few seconds spent checking levels may improve the recording without another purchase.




Share Your Thoughts