Mirroring the screen of your Android device on your TV can be fun. It comes with great convenience, and we get the idea repeatedly that technology has made dreams a reality. It’s joyous when you share a recent party’s album with your family, or you are playing your favorite game and wish to cheer your siblings. You need to follow a few simple steps, and you are good to go! All you need is an Android phone or a tablet running on 4.4.2 or above and a Chromecast. You can be using other casting devices, but the procedure will be pretty much the same.
Is your device compatible with mirroring?
Finding your device compatibility is not grueling. You can check the Android version running on your device by going to Settings > About Phone and looking for the Android version. You can also go to the Google support page and look for the devices listed there for the casting screen. Some devices may not show up on that list, but they can still work well. This, of course, varies from person to person and for different smartphones.
There are drastic differences in the performance of listed devices even.
The latest devices ought to do well compared to the ones made and manufactured in the past few years. Just check yours and see how things work for you.
Setting up your Chromecast
If you are using Chromecast or Chromecast Ultra, we’ll walk you through the procedure of setting it up. Here’s how.
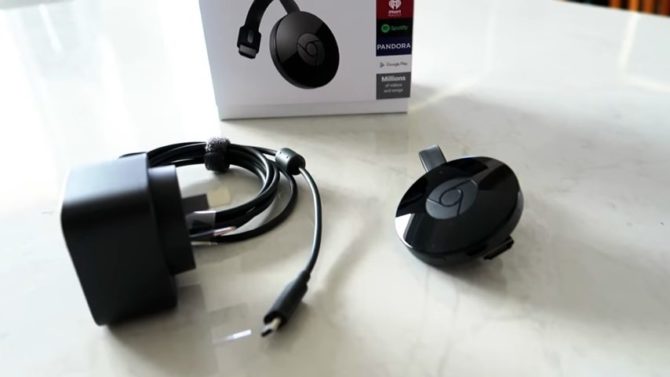
You need to ensure the following before you get started with duplication of your screen:
- Have a functional Chromecast device.
- Get the latest version of the Google Home app installed on your Android device.
- You should, of course, have a Google account.
- You require having a device with HDMI input, i.e., an HDTV
- Your Android device should support a 5 GHz connection to set up Chromecast.
- A good internet connection.
Once done with the preliminary requirements, you can head to plugging in your Chromecast and start setting it up. Once it’s plugged in, open the Google Home application. Turn on the location services and also give certain permissions to the application. You will, of course, require a Google account to do so. After this, scan the devices that are connected to the Chromecast.
Summary of the steps
- Ensure that you’re connected to the same Wi-Fi network as your Chromecast.
- After you have opened the Google Home app, open the menu, and select the option to cast screen or audio.
- Tap on the blue button and select the device you would like to connect to.
Alternatively, you can cast the screen using the icon in the quick settings pane. These days, many phone manufacturers give the option of casting device screen in the quick setting pane that can be launched by swiping the top screen down. Try this and see if a “cast” or “cast screen” button is found. You can select it and choose the device you’d like to cast the screen too, and in case if you don’t find it, you can head to rearranging the tiles in the quick settings pane and add a button there. You can begin casting your screen. An alert will appear in your notifications panel that may enable you to stop casting at one tap when you are done!
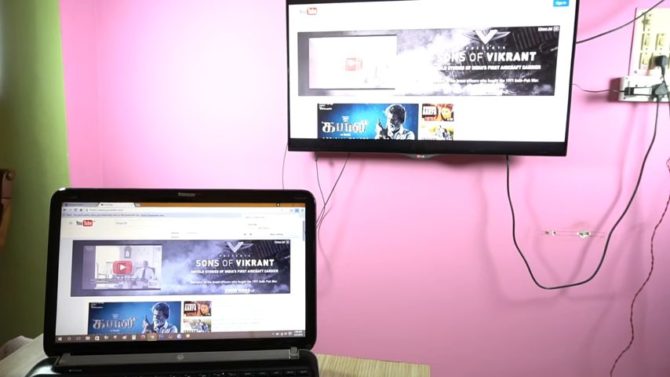
If you are using the Chromecast on your computer, you will need a few more extra steps. To use the ability to push the web content on your TV screen, you will need to install a Chromecast extension on your Google Chrome. This will give you an excess of 90 little buttons that open up an era of video streaming for you. You get options to select screen size and screen resolution to customize the content you are sending on your TV screen.
Starting from the scratch
If you have to start from scratch, worry not, as this is an easy option to pick on. Your Chromecast can be factory restored if/when needed. All you need to do is to locate a small button at the edge of your Chromecast device. The button is usually near the Micro USB port. While the device is plugged into your TV and is functional, hold the button down for 25 to 30 seconds until you start seeing the blinking of light. You may have to do it more than once, and as soon as it’s done, the screen goes dark, and the device reboots. You are good to start from scratch.

Share Your Thoughts