

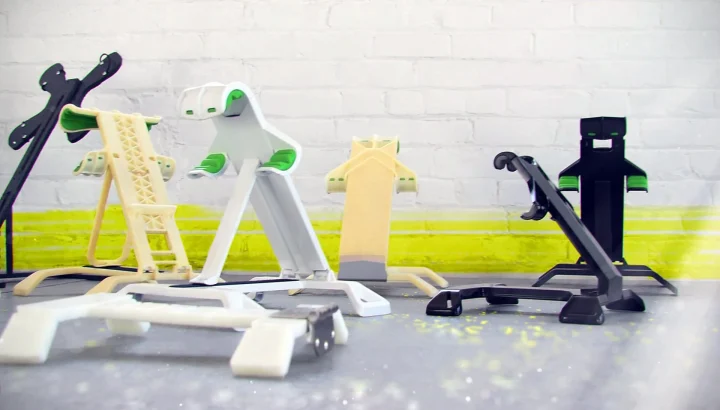
A prototype is not a miniature of the final product. It is a question you can touch: Does this solve the job? Is it graspable? Will people pay for this shape of solution? Teams get stuck when they try to invent branding, tooling, and packaging before they have proven the core loop.
This walkthrough keeps you in the useful middle: clear problem, cheap learning, then a functional prototype that demonstrates the critical path. It applies to physical gadgets, simple hardware-plus-app products, and hybrid ideas where the product is partly software.
From idea to functional prototype
Define the job before the object
Write the job story: When [situation], I want to [action], so I can [outcome]. List the three failures of today’s workaround. If you cannot name those failures, you are designing vibes, not a product.
Decide the one behavior the first prototype must prove. Everything else is a prop. A fully functional prototype still focuses on the riskiest function first, then expands.
Sketch, paper, and low-fidelity mocks
- Sketch five shapes in one sitting. Quantity beats preciousness.
- Build a cardboard or foam core model for grip and size. Hold it while you pretend the workflow.
- For screen flows, paper-wireframe the five taps that matter.
- Show the mock to two people in the target job. Watch hands, do not pitch.
Low fidelity is a feature. Fancy renders invite compliments about color instead of truth about usefulness.
Choose the right fidelity for a functional build
Match method to risk:
- 3D print + off-the-shelf electronics for enclosures, buttons, and fit checks.
- CNC or laser-cut parts when strength or heat matters more than organic curves.
- Breadboard or development boards before a custom PCB.
- No-code or clickable app shell when the hardware is a stand-in and the software path is the risk.
Buy before you build. Many inventions are clever assemblies of sensors, batteries, and modules that already exist. Custom everything comes after the learning.
Build the critical path only
Assemble a prototype that completes the job end to end once, even if ugly:
- Power on and reach the ready state without tribal knowledge.
- Perform the core action with representative materials.
- Show the result (light, log, movement, file, message) so a stranger can judge success.
- Capture a two-minute video of the happy path for teammates and early users.
Ignore cosmetic bezels, brand colors, and packaging inserts until the path works five times in a row on the bench.
Test, measure, and plan the pilot
- Give the prototype to users without coaching. Note where they hesitate.
- Log failures: heat, grip, battery life, pairing, clarity of feedback.
- Separate nice feedback from blocks-the-job feedback.
- Price a small pilot: unit cost, hours, and what evidence would green-light tooling.
A functional prototype earns the right to talk about manufacturing. It is also where many ideas politely end, which is cheaper than tooling a guess.
For electronics safety and compliance later, lean on primary sources such as FCC guidance when radios are involved, and keep lab notes as if an engineer will inherit them.
Documentation that saves the next revision
Functional prototypes die in drawers when nobody can rebuild them. Before you celebrate, capture:
- A parts list with vendor links and alternate parts.
- Firmware or app version that matched the demo video.
- Photos of wiring and assembly order.
- Known failure modes and the exact symptom for each.
- The open questions the next build must answer.
That packet turns a one-off demo into a project other people can continue. It also keeps you honest about what still is not proven. If you cannot explain how to reproduce the happy path, you do not have a prototype yet. You have a lucky sample.
FAQs
How much should a first prototype cost?
Enough to answer the riskiest question, not enough to feel precious. Many hardware learning builds stay in the low hundreds of dollars with prints and modules before any custom board.
Do I need CAD skills first?
Helpful, not mandatory on day one. Paper and foam teach size. Learn CAD when dimensions must repeat or go to a print house.
What is the difference between a mockup and a functional prototype?
A mockup shows look or size. A functional prototype performs the critical job, even if it looks unfinished.
When should I file intellectual property?
Talk to a qualified attorney before public launches or detailed disclosures. Prototyping for private learning is different from shipping or crowdfunding.
How do I know the prototype is done?
When a target user completes the job without you narrating, and you have a short list of concrete fixes for the next revision.





Share Your Thoughts